Window Crank Handle Removal
Step-by-step instructions for safely removing a manual window crank handle
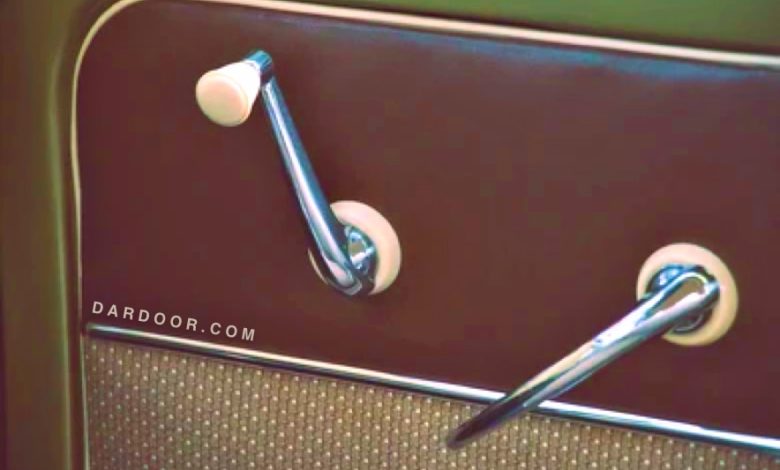
This in-depth guide explains how to safely remove a manual window crank handle without damaging the door panel or losing the retaining clip. We’ll cover tools, removal methods, troubleshooting, and reinstallation so you can complete the job like a pro.
🚦 When Do You Need to Remove a Window Crank Handle?
- Removing the door panel for regulator or latch repairs.
- Replacing a damaged or broken crank handle.
- Upgrading from manual to power windows.
- Fixing a stuck or noisy window regulator.
- Accessing the inner door for soundproofing or wiring work.
🧰 Tools and Materials Needed
- Window crank removal tool (recommended)
- Flathead screwdriver (alternative method)
- Pick tool or hook tool
- Shop rag (for clip removal trick)
- Needle-nose pliers
- Replacement crank handle (if broken)
- Work gloves and flashlight
⚙️ How Window Crank Handles Are Secured
Most manual crank handles are attached using one of the following methods:
- C-clip or E-clip: A spring clip behind the handle keeps it on the shaft. This is the most common design.
- Retaining screw: Some vehicles use a small screw hidden under a plastic cap.
- Snap-on design: Less common—relies on friction to hold the handle in place.
Identifying which system your vehicle uses will determine the correct removal method.
📋 Step-by-Step Window Crank Handle Removal
Method 1: Using a Removal Tool (Best Method)
- Insert the window crank removal tool between the handle and door panel.
- Align tool ends with the C-clip.
- Push the tool until the clip pops free.
- Pull the handle straight off the shaft.
Method 2: Rag Trick (No Special Tools)
- Slide a clean shop rag between the handle and the door panel.
- Work the rag back and forth in a sawing motion.
- The cloth will catch the retaining clip and pull it free.
- Remove the handle once the clip is out.
Method 3: Screwdriver or Pick Tool
- Shine a flashlight behind the handle to locate the retaining clip.
- Insert a flathead screwdriver or pick to push the clip out.
- Carefully remove the handle from the shaft.
🔄 Reinstalling the Window Crank Handle
- Place the retaining clip back onto the crank handle groove.
- Align the handle with the regulator shaft.
- Press the handle firmly until it clicks into place.
- Test the window to ensure smooth operation.
⚠️ Troubleshooting Window Crank Handle Issues
| Problem | Cause | Repair |
|---|---|---|
| Handle won’t come off | Retaining clip stuck due to dirt or rust | Spray with penetrant, use removal tool |
| Handle falls off frequently | Worn or missing clip | Replace clip or handle |
| Window hard to crank | Worn regulator or dried grease | Lubricate regulator or replace it |
| Handle breaks during removal | Brittle plastic or excessive force | Replace with new handle |
❓ Frequently Asked Questions
Q: Do I really need the special removal tool?
A: It’s highly recommended, but you can also use the rag trick or a pick tool if you’re careful.
Q: Can I reuse the retaining clip?
A: Yes, unless it’s bent or rusted. Replacement clips are inexpensive.
Q: How long does it take to remove a crank handle?
A: Usually 5–10 minutes with the proper tool. Longer if the clip is stuck.
Q: Are replacement crank handles universal?
A: No, always match your vehicle’s make, model, and year for proper fit.
🛡️ Maintenance & Prevention Tips
- Keep regulator mechanisms lubricated to reduce strain on the handle.
- Operate windows gently—forcing the handle can break the regulator gears.
- Replace brittle handles early to prevent breaking inside the door panel.
- Keep spare clips on hand since they are easy to lose.
✅ Conclusion
Window crank handle removal may look intimidating at first, but with the right approach, it’s a quick and easy job. Whether you’re servicing the window regulator, removing the door panel, or upgrading to power windows, this step is essential. Using a removal tool or even the rag trick makes the process straightforward. With proper reinstallation and routine maintenance, your manual window system can remain reliable for many years.