Mazda 3 Brake Pads Replcement
Dardoor Recommends
- Perform the replacement of brake pads in a complete set for each axis. This provides effective braking.
- Do not wash the brake elements with gasoline, diesel fuel or gasoline-based solvents.
- Observe the safety procedures! when brake pads work, brake dust is formed. Therefore, do not use compressed air and do not inhale dust when cleaning the brake pads.
- Replace all four pads, if even one of them has got oil or grease. Remember that there is no way to completely clean a pad.
Step 1
Tighten the parking brake lever.
Step 2
Place wedge blocks under the rear wheels.
Step 3
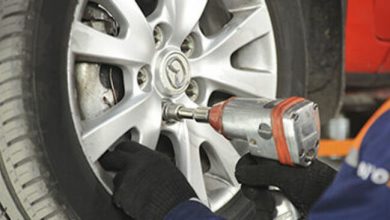
Loosen the wheel mounting bolts.
Step 4
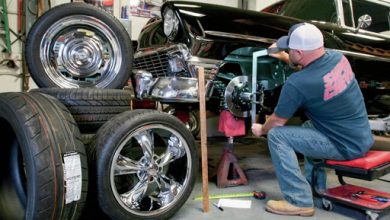
Raise the front of the car and secure on supports.
Step 5
Remove the front wheels.
Step 6
Using a simple screwdriver, remove the brake caliper spring clip.
Step 7.1
With a simple screwdriver remove caps from both guide pins.
Step 7.2
Step 8.1
Unscrew the brake caliper fastening
Step 8.2
Step 9
Remove the brake caliper.
DARDOOR RECOMMENDS
Tie the caliper to the suspension or to the body with a wire without disconnecting from the brake hose to prevent depressurization of the brake system. Do not press the brake pedal after removing the brake pads. This will lead to the piston drop out of the brake cylinder, brake fluid leakage and system depressurization.
Step 10.1
Remove the brake pads.
Step 10.2
Step 11
Press the piston into the cylinder to a stop.
Step 12.1
Install new brake pads
Step 12.2
Step 13.1
Install the brake caliper and fix it.
Step 13.2
Step 13.3
Step 14.1
Step 14.2
Step 15
Dardoor Recommends
Without starting the engine, press the brake pedal several times until you feel significant resistance.
Step 16
Install the wheel.
Step 17
Lower the car and working in a cross order, tighten the wheel bolts.
Dardoor Recommends
Slow down smoothly for the first 150-200 km after the brake pads replacement. Avoid unnecessary and sharp braking to a stop. Check the brake fluid level in the expansion tank and refill if necessary.
You May Also Like: –


